Back to Basics: Why and How to Stockpile Water for Emergencies
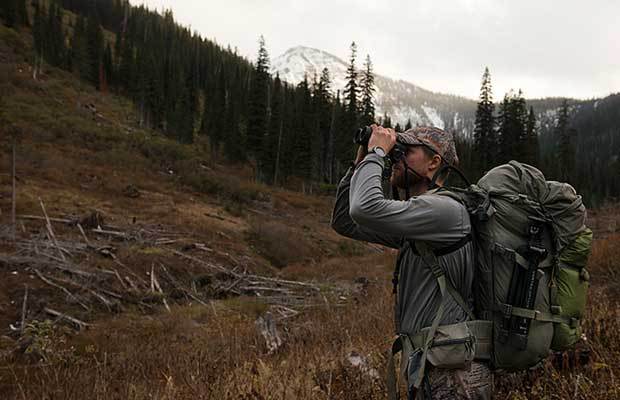
Prepping in its most basic form to me is about proactively taking steps to ensure you and those around you are ready with skills, supplies and a plan to react to emergencies or disasters in a way that promotes your survival. The core of short-term survival I would argue is something that many of us take for granted and that is water.
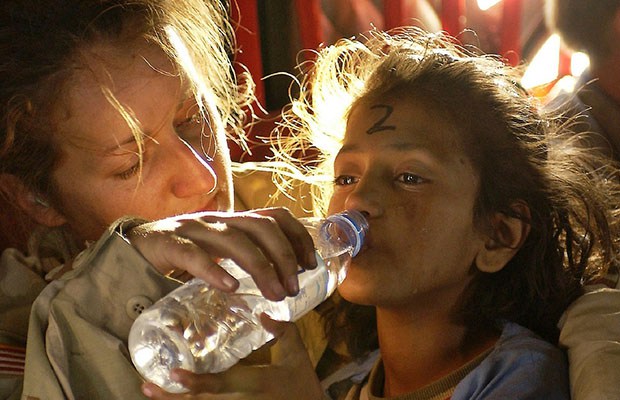
Why do you need to store water for emergencies?
The simple answer to that question is one that you probably already know. We all need water to survive and if you go without it for a while your health deteriorates. You can get headaches, become lethargic and weak. Go with water for more than a couple of days and you die. Water or lack of sufficient, clean drinking water, more than almost anything else (I will go into the other things later) will kill you.
That much is pretty simple. Usually everyone can accept that premise without even blinking an eye. What they frequently have problems with is this idea that you could ever find yourself without clean drinking water. We in virtually all of the developed world have water treatment facilities, plumbing and systems that bring clean water inside the house or our offices and you would be hard pressed to walk anywhere in even the smallest cities without quickly finding nice clear, plastic bottles of water for sale. But what if the water in the tap was tainted? What if the tap no longer put forth clean, shiny water? What if the stores with all of those bags and bags of bottled water were empty? This is where prepping begins.
To prepare, you have to do something proactively.
It isn’t wise to sit back and say things like “that would never happen” or my own personal favorite, “the government will take care of us if that happened”. In any large emergency, you will be reliant upon yourself as evidenced in almost every case in recent history. Yes, disaster relief organizations and government assistance will usually mobilize, but do you want to wait for that to happen? Even the government tells you to prepare on its website, ready.gov. If they are saying not to wait for them, what does that tell you?

I don’t know why anyone would count on the government. Maybe they will do something right, but I wouldn’t bet my life on them saving me.
How much water do you need to survive?
So we agree that everyone needs to stockpile water, but the next obvious question is how much? The amount of water you need vary greatly depending on a few different factors. A general rule of thumb is that you need one gallon of water per person per day. This assumes hydration needs and hygiene. You won’t necessarily drink a gallon of water, but you might need it for reconstituting freeze-dried food, cleaning cooking implements or washing your body. On some days you might not even need a gallon of water. Other days you could end up needing much more than one gallon if you are exerting yourself physically or the temperatures are elevated and you are losing fluids to perspiration.
In my opinion, water is one of the easiest preps to cross off your list and since it is so vital, it made the cut as the first in this series. To calculate how much water you need, just multiply the number of people you are prepping for by the number of days you want to be stocked up for. In my family, I have those who live with me (4) as well as extended family who I plan will come to our location (another 4 potentially) as well as some friends (add 4 to that) so I am looking at potentially needing to supply water for 12 people. 12 people for one month is 12 X 30 = 360 gallons of water.
Where is the best place to store water?
That is only for one month. What if the emergency lasts longer than one month? What if the town’s water supply is still not safe for drinking at that point? 360 gallons takes up a lot of room no matter how you look at it. If you have 55 gallon barrels in your basement that is still 6 barrels and again that assumes everyone is staying at or under their one gallon a day limit.
I have a few different ways to store water. The first is stored in heavy-duty plastic containers that hold 7 gallons each. These are great because they are more portable, they stack and I can get some storage in smaller spaces, like the shelves of a pantry. I can also easily transport a few of these to my Bug Out Vehicle if necessary. This storage only lasts a week.

If you have the space, larger water storage containers work best.
After that I have rain barrels that hold 50 gallons a piece. The great thing about rain barrels is that they can be refilled by Mother Nature without you having to do anything except make sure the water is disinfected. But, this requires an outside location and not everyone has a home on land where they can back up a barrel under the gutter. People who live in apartments have different space limitations.
For apartment dwellers, I would recommend using the stack-able storage, but diversify that around your apartment so you don’t have weight all in one space. Usually any apartments are built on concrete substrates so even several hundred pounds of water in a closet wouldn’t risk compromising the floor. You can also try storage facilities if necessary.
What do you do when the water runs out?
But no matter how much water you have stored up, it could still run out in the worse emergencies so it is important to have an alternate plan to acquire good water afterward. Actually, I think it is more important to plan to procure water than it is to stockpile it in the long run.

Platypus GravityWorks Filter System, 4-Liters of water in minutes.
Water borne bacteria and viruses are not something you want to encounter in a disaster situation. Stomach bugs, even minor can put you down and give you diarrhea. Who wants to worry about getting sick when the world ends much less crapping yourself all the time when the toilet paper is in short supply anyway? A simple and reliable method of making your water safe to drink is also very important.
Boiling water is a sure-fire way to kill all bacteria and viruses. The drawback to this approach for me is that you have to start a fire and use a container. The fire could alert people to your location and that might not be what you want. Also, you have to wait for the water to cool before you can drink it and boiling isn’t going to get out any sediment, it will just make your water safer to drink.
I prefer gravity filters for their ease of use, compactness and filtration ability. With a filter like the Platypus Gravityworks, you can quickly filter 4 liters of water just by filling up a bag and it’s ready to drink in minutes. Literally, I filtered 2 liters in less than 2 minutes.
There is also using bleach to disinfect ,water purification tablets and even iodine, but these aren’t without their drawbacks too and do require you to wait for the chemicals to work. Your choice, but there are options.
Make sure you have plans to supply the water needs of your own survival group at the initial point of any emergencies and long after by crafting your water preparedness plan now.
Prepping in its most basic form to me is about proactively taking steps to ensure you and those around you are ready with skills, supplies and a plan to react


![grease-pencil[1]](https://finalprepper.com/wp-content/uploads/2016/07/grease-pencil1.jpg)
![sewing-scissors[1]](https://finalprepper.com/wp-content/uploads/2016/07/sewing-scissors1.jpg)
![contact-paper-sheets[1]](https://finalprepper.com/wp-content/uploads/2016/07/contact-paper-sheets1.jpg)
![chalkboard-spray-paint-1[1]](https://finalprepper.com/wp-content/uploads/2016/07/chalkboard-spray-paint-11.jpg)
![dry-erase-ultra-fine[1]](https://finalprepper.com/wp-content/uploads/2016/07/dry-erase-ultra-fine1.jpg)