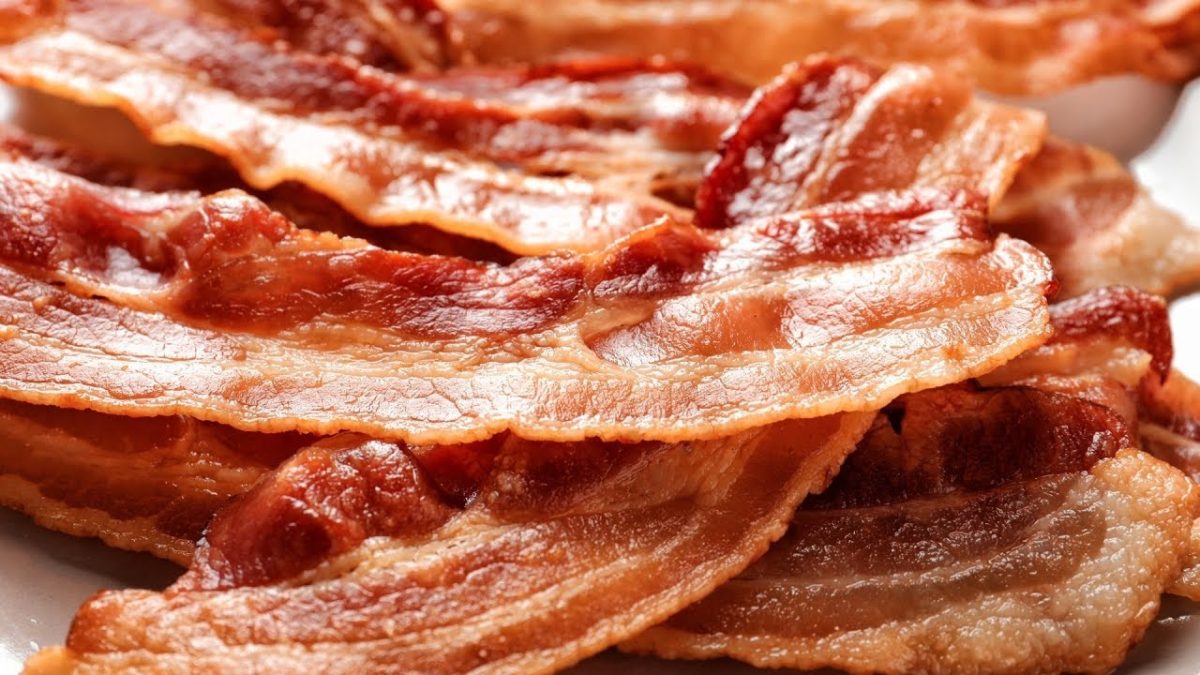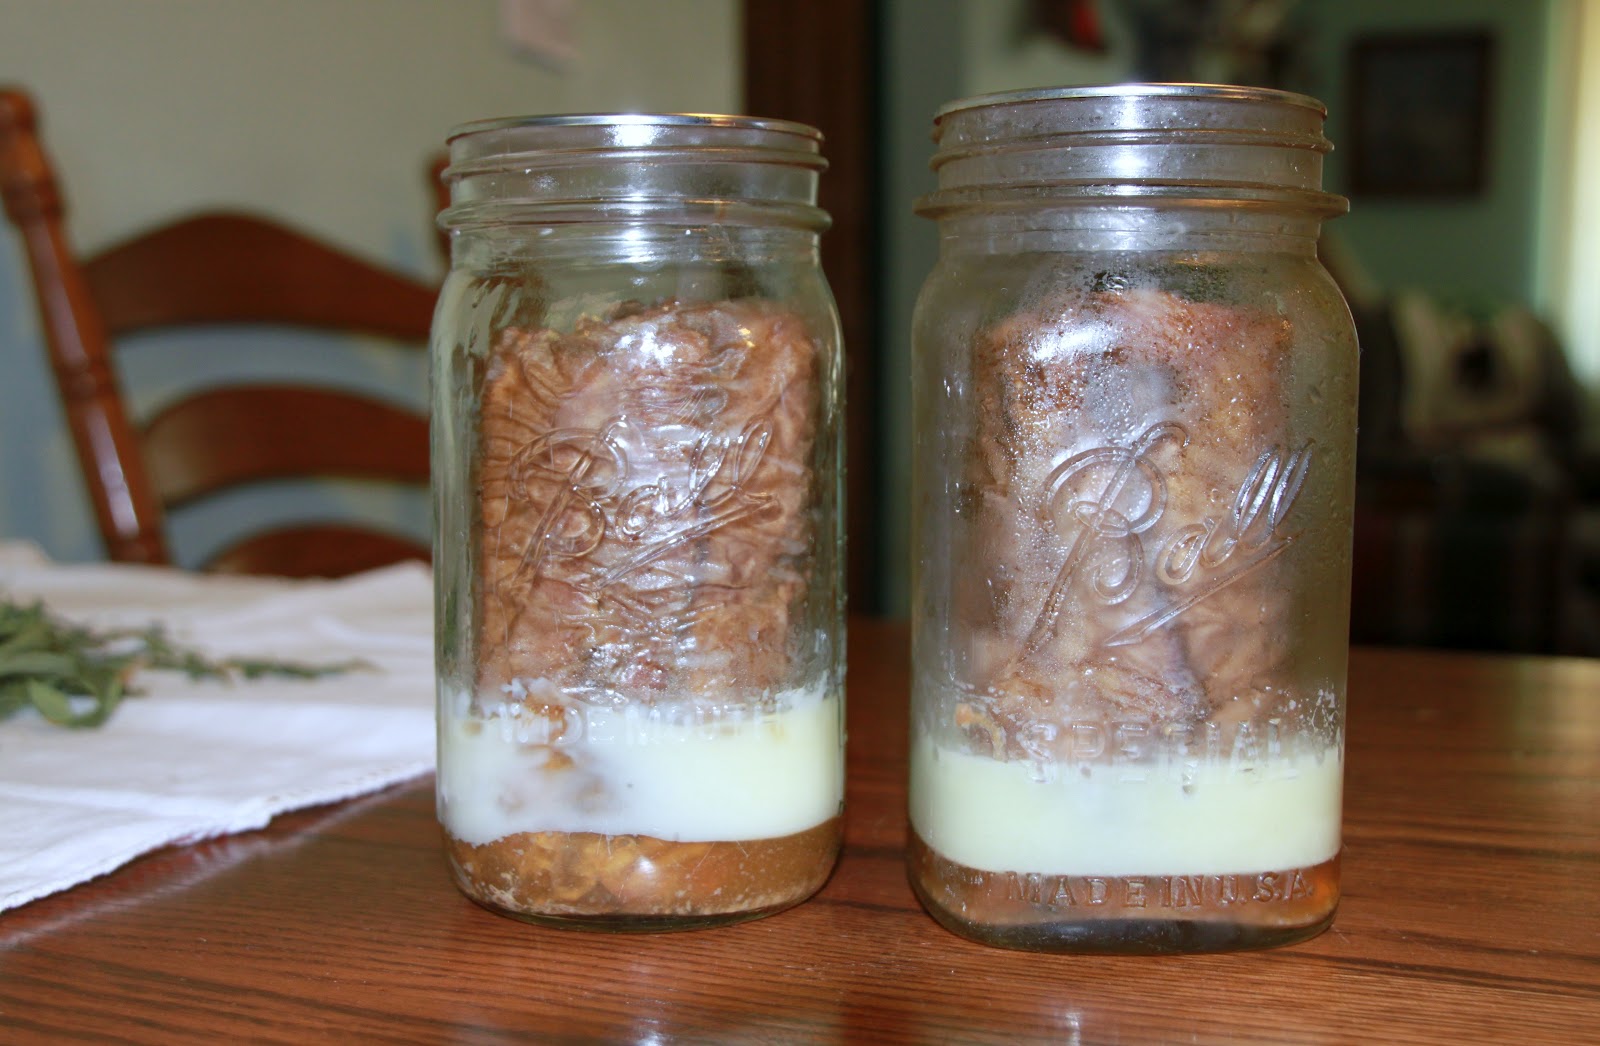
Sealed Foods that Last Forever!
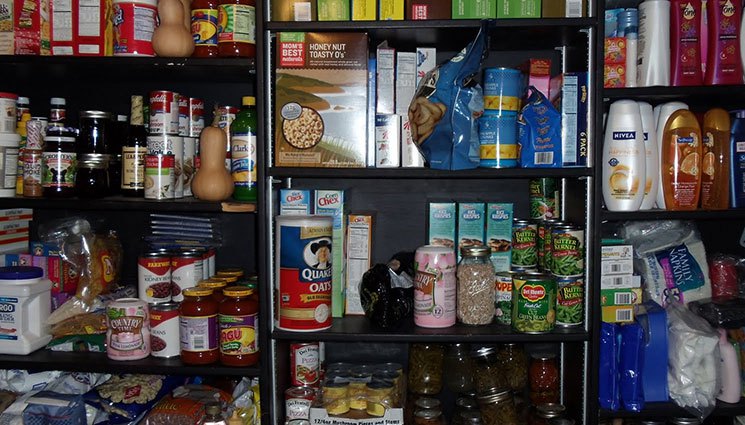
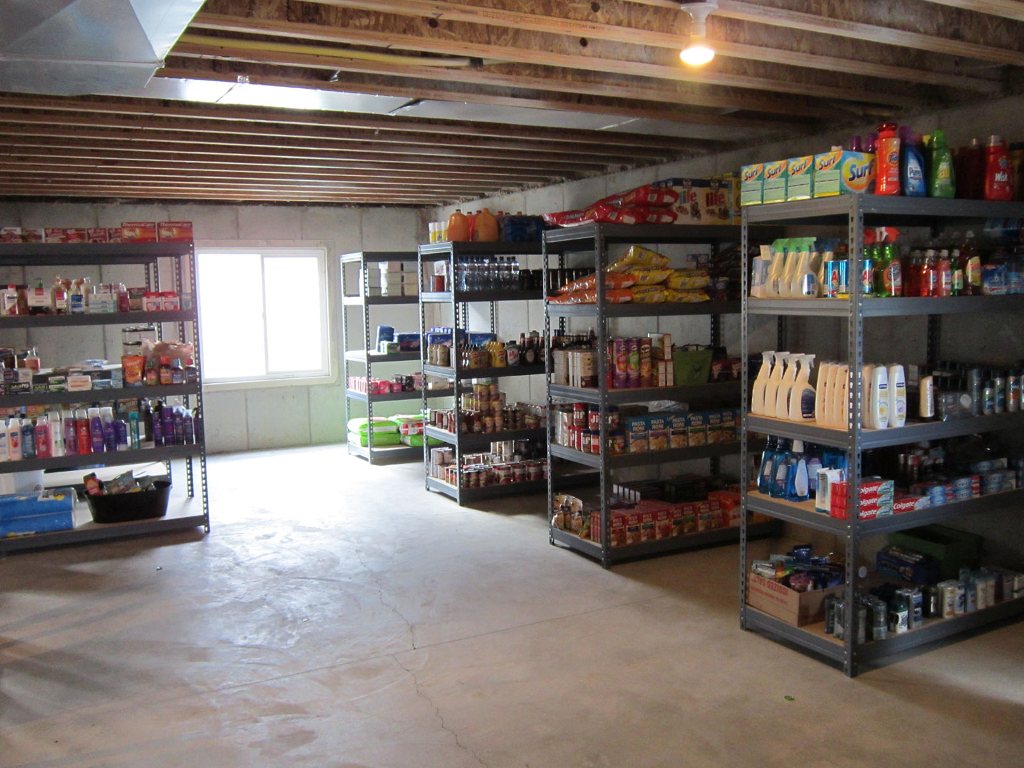
Sure, shoveling a couple of tin cans and ready-to-eat packs inside a pantry or emergency household kit may be a no-brainer, but what happens when a real emergency blows your way and you’ll need to eat those stuff to stay alive? More than that, are you really sure that everything stays fresh until the time for unboxing comes? There are a lot of things to consider when creating a long-term food stockpile: shelf life, type of food, the very environment where you choose to store the food, and, the containers themselves.
As you know, emergency food should be stored in a cool and dark environment to keep them from getting rotten. Still, that leaves you to deal with other unforeseen dangers such as rodents clawing your way into your food stash, insects, and, of course, indirect environmental factors that can make long-term storage food stored in metal cans go bad. Last but not least, moisture can severely affect your food, even if it’s neatly wrapped in packages.
What I like to do in this case is to take the original pack and place it inside individual zip-lock bags before placing them inside airtight plastic containers.
You can even throw in a couple of desiccant silica gel packs to remove any moisture remaining inside. For a while, I thought long and hard about finding a more permanent solution to the excess moisture issue inside the pantry I use to store my food and I eventually ended up buying a dehumidifier. It works very well, and mine takes triple-A batteries (you can switch them with rechargeable power cells).
Now, regarding today’s topic, some foods are more endearing than others. For instance, lentils can be stored for at least 5 years. On the other hand, rice, if deposited in a proper environment, can last for 30 years if not more. This is why I’ve always pushed for smart stockpiling, aka buying only those stuff with a very long shelf life that could, theoretically, last forever.
This is not something new under the sun. In fact, if you remember your history lessons when Carter and Lord Carnarvon popped open Tut’s tomb, they found perfectly edible food stored inside wax-sealed angoras. And it’s not the only example – the Chinese and even the Mayans. So, what are these wonder foods that can be kept for decades at an end in the pantry before going rotten? Stick around to find out.
- Carrots
Packs with flavonoids and tons of other nutrients, carrots are excellent for stews, broths, and even by themselves. What most people don’t know is that those bright-orange wonders can be stored for decades. Dehydrated carrots have a shelf life of 25 years or even more. The trick is to place them in air-tight containers right after removing all the water to minimize contact with the air. I recently found out that it’s way easier to remove the water if you chop them into small pieces.
To whip up a quick batch of dried carrots:
- Peel them off.
- Wash and rinse.
- Blanch them in a pot.
- Put them on a tray.
- Preheat the over to 125.
- Place the carrots inside and allow them to dry. It takes about 4 to 5 hours depending on your oven.
Don’t forget to still every hour. Take them out of the oven and allow them to dry before tossing them inside a zip-lock bag.
2. Pasta

Mamma mia! Who doesn’t adore a plateful of pasta with meatballs? I, for one, am very much in love with pasta. It’s the type of food that can be cooked in every way imaginable. Even better, pasta, especially the deep-frozen variety, has a very long shelf life (at least 20 years).
Still, if you store them in a moist-free environment, you can take them out and whip up a quick pasta dinner even after 40 or 50 years. I read somewhere that pasta products can even last for a century and even more if placed in special storage containers like aluminum-lined mylar bags.
3. Salt

No meal’s complete with a sprinkle and tinkle of salt. This awesome condiment, which has been around since the dawn of time, does not ever go rotten if stored in the proper conditions. You need not worry about bacteria getting inside, because salt has a way of dealing with them.
Still, the only thing you should concern yourself with is moisture. If the container isn’t properly sealed (been there, done that), then it’s bye-bye salt and hello mush. I usually keep my salt in a heavy-duty plastic container in which I throw a pack or two of desiccant silica gel wrapped in plastic just to be sure.
4. Baking soda

There’s nothing baking soda can’t do or fix – you can use it to bake delicious cookies, cakes, and clean stuff around the house. Before I went to the doctor to get my molar fixed, I used to gargle baking soda in the morning before brushing my teeth (great for morning breath as well).
If you’re a computer buff, just like myself, you can use a light baking soda mixture to remove persistent stains from plastic computer cases (also works wonders on those yellow spots!). As you’ve guessed it, baking soda has no expiration date, provided that you store it in proper conditions – no moisture and sunlight.
5. Soy Sauce

Care for some Chinese? Well, if you’re a fan of Asian cuisine then you must know that no dish must be without soy sauce. The salty, smokey, flavor gives that sea-foody taste to each meal. Are you ready for the good news? Soy sauce never goes bad. Ever!
Since it’s packed with sodium, that stuff will never spoil due to bacteria. Watch out for moisture and exposure to sunlight though. To protect that black gold, pour the contents of a bottle into a sealable and air-tight glass jar. You can line up the jar’s mouth with aluminum foil and plastic wrap for extra protection.
6. Powdered milk

I know that nothing beats the taste of real cow’s milk, but the bacteria inside it make it impossible to store it over long periods. On the other hand, powdered milk is not pretentious and very handy to have around the house for dishes and drinks. If stored in a moisture-free environment, powdered milk can last forever. I usually store powdered milk in a large plastic container with a couple of moisture-absorbent packs inside.
7. Instant drinks (coffee, cocoa powder, and tea)

No emergency stockpile should go without easy and quick-to-prepare drinks. I cannot and will not imagine a world without coffee or tea. Since they’re dehydrated, all instant drinks can last up to 10 years if you remember to store them in a moisture-free room.
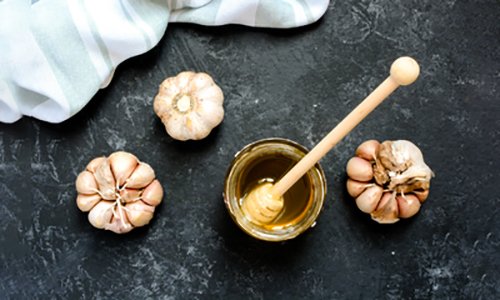
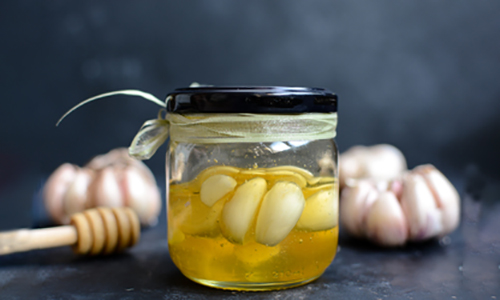
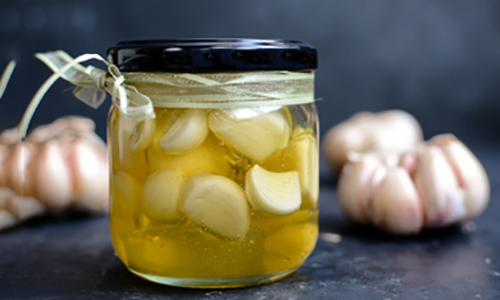
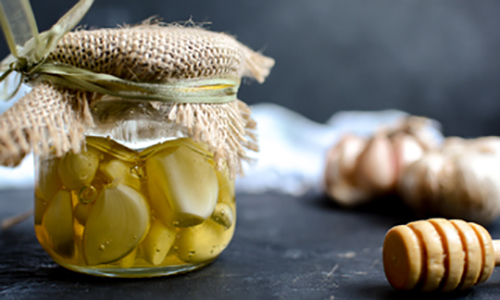
8. Honey

Yes, dear? No, I was talking about bee honey, the one you use to make cookies or sweeten your drinks. The high sugar contents inhibit bacteria from developing. And, if stored properly (lid screwed on tight, no sunlight and moisture), a jar of honey can last for 100 years or even more!
9. Stock and bouillon

These are great during those cold winter days when you want to whip up a bowl of soup or your favorite comfort food. Everything boiled and set to cool down before being placed in bottles or something can last for ten years or more. A funny thing happened to me the first time my wife and I prepare bouillon for our stockpile.
So, the pantry which I used to store my food had a slight design issue – heat seeped through one of the holes in the wall. After the bottles cooled down, we placed them inside and forgot about them for a couple of weeks. One night, I heard this long bang coming from the pantry. Half-asleep and almost naked, I ran up to see what the Hell was happening.
When I opened the door to peek inside it was like stumbling upon a crime scene – two of the bottles exploded and there was tomato sauce everywhere. After a while, I realized that the heat made the bouillon bottles blow up. So, make sure your pantry is insulated. Otherwise, someone might think you’ve killed someone and hid his body inside the room.
10. Sugar

Spice and everything nice – these are the ingredients to create the perfect prepper. Very much like baking soda and honey, sugar can be stored indefinitely. The only problem is that it tends to harden over time. No problem. Just place it inside a large container and use a spatula or a spoon to break down those big chunks.
11. Beans

Delicious, nutritious, and easy to prepare, beans are at the very top of the food pyramid. Although you’ll probably end up passing more gas than usual after a bean-based dish, it’s nevertheless a versatile food. More than that, if you’re careful enough to store them in proper condition, a single bag of beans can last up to 30 years. There’s one catch about beans – you will need to reseal the bag from time to time. This is why I switched to aluminum-lined mylar bags instead of plastic, airtight containers.
12. White vinegar

What happens when the wine goes bad? You get up from the table and argue with the waiter, of course. Kidding – wine has this outstanding quality of transforming into vinegar, which is one of the most useful items found in your pantry, apart from salt and baking soda.
Vinegar can be used in salad dressings and other dishes, but it’s also a great helper around the house (my wife uses it to remove cat hair from the carpet and I use it in very small amounts to remove pigeon droppings from the car’s hood). White vinegar never goes rotten, so you can store as much as you want without a problem.
13. Maple Syrup

Fancy some pancakes with maple syrup for breakfast? My kids go absolutely bonkers over this dish. Can’t say that it’s really good for their teeth but, hey, try arguing with a hungry and screaming toddler. Just like honey, maple syrup has high sugar contents, which means that it can be stored for long periods of time (50 to 80 years, by some accounts).
However, you should know that there’s a huge difference between maple syrup stored in plastic and the one stored in glass bottles. The first, even unopened, has a shelf life of 5 to 18 months, while the later can last as much as half a century.
14. Ghee

I don’t know if most of you are familiar with this ingredient. Ghee is a type of base which is prepared from boiled butter. Basically, you get ghee by removing all the water from the butter. Great for Indian dishes and preparing low-calorie foods. If you store it in an airtight container, ghee will never go bad on you.
15. Corn starch

Momma always used to say that if the food looks too watery, add some cornstarch to make the spoon stand up on its own. Corn starch is very useful around the house – you can cook with it, clean up stuff, and even use it in combination with water to soothe sunburns. Stock up on cornstarch now because this stuff will never go bad.
Okay! To wrap this up in a neat and elegant manner, check out this small list of all the foods and their shelf-lives. Hope you’ve learned by now that smart stockpiling is all about knowing your food and not shoveling them in a pantry and throwing away the key.
| Food | Shelf Life (years) |
| Carrots (dehydrated) | 25+ |
| Pasta | 20+ |
| Salt | Forever |
| Baking Soda | Forever |
| Soy Sauce | Forever |
| Powdered milk | Forever |
| Instant drinks | 10+ |
| Honey | 100+ |
| Stock & Bouillon | 10+ |
| Sugar | Forever |
| Beans | 30+ |
| White Vinegar | Forever |
| Maple Syrup | 50~80 |
| Ghee | Forever |
| Corn Starch | Forever |
Other self-sufficiency and preparedness solutions recommended for you:
The vital self-sufficiency lessons our great grand-fathers left us
Knowledge to survive any medical crisis situation
Liberal’s hidden agenda: more than just your guns
Build yourself the only unlimited water source you’ll ever need
4 Important Forgotten Skills used by our Ancestors that can help you in any crisis
Secure your privacy in just 10 simple steps
Sure, shoveling a couple of tin cans and ready-to-eat packs inside a pantry or emergency household kit may be a no-brainer, but what happens when a real emergency blows your
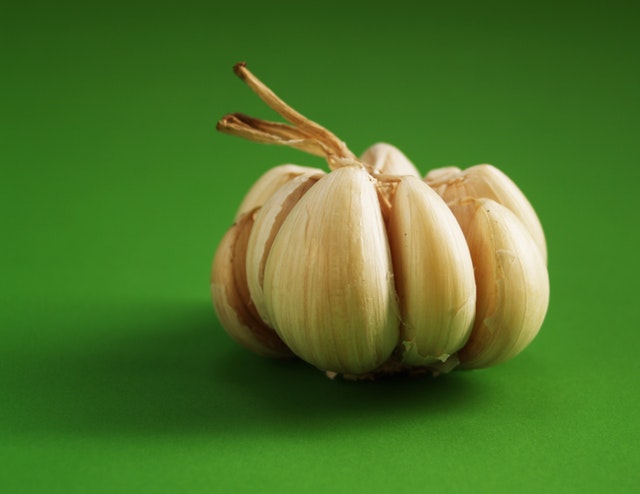
 The antibiotic quantities of garlic appear to be a direct result of allicin. The allicin is very sensitive, however, and cooking or heat treatment may destroy its benefits. The best way to get that allicin is by consuming the raw garlic, but many people cannot stand the smell or taste of it.
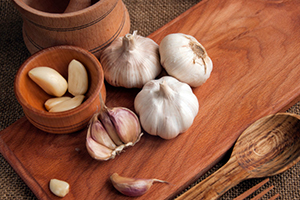