I don’t need to remind just how darn important it is to know what to cook when the power goes out. There are so many recipes on the grand world-wide-web that you need only type in “gimme food” in Google to figure out your next step.
The trouble with these “whip-up” dishes, as I like to call them, is that they have a very limited shelf life, despite being bagged and refrigerated. In my searches for the next cannable superstar (be sure to check out my article on canning and pickling pork meat), I’ve stumbled upon a most interesting recipe – the so-called Poor Man’s Hamburger. According to its description, it should be an Amish dish, although I find it very hard to make a connection.
Anyway, the recipe’s pretty straightforward and if you have a good pressure canner, you can keep this stuff in your pantry for at least three months if not more. The weird part about preparing this recipe is who or rather what gets the spotlight – though it’s a meat-based dish, the gravy’s actually the one who steps into the limelight.
Crazy, right? Not in the very least! As you’re about to see, the gravy you get is what you might consider a great SHTF asset – it can very easily be combined with the meat of all sorts (chicken, beef jerky, spam) but it can also be eaten, well, plain, as a sort of early-morning broth.
Before we get to the cooking part, I should warn you that this recipe takes time. If you have something big planned that day, I will leave it for another day, preferably a lazy Sunday. So, without further ado, here’s what you’ll need to do in order to prepare Cannish, aka the canned version of the Amish Poor Man’s burger.
Gathering your utensils and ingredients
For this recipe, you’ll need the following tools:
- Canning jar (the bigger, the better).
- Plastic container (I would go for a 35 quart because you’ll have a lot of stuff to mix)
- Food processor.
- Oven grill (if you don’t have one, you can always use the top part of an old BBQ which you can place it over a tray).
- Mouth rim (you’ll need this to shape your burger patties).
- Skillet (for cooking the gravy).
- Aluminum foil.
- Lots and lots of patients.
As for the ingredients, go raid the pantry or the local farmer’s market of the following supplies:
- Celery (around five cups).
- Onions (five cups will do).
- Saltines (I used one and a half pounds of saltine or six packs).
- Eggs (two dozen).
- Milk (five cups).
- Lots of salt and pepper.
- Ground beef (this recipe calls for at least 30 pounds. That’s around two or three big-ass rolls).
- Canned mushrooms (five cans).
- All-purpose flour.
Yes, I know it’s a very long list, but as I’ve told you, this is the kind of recipe that kind of makes you spend the entire day in the kitchen. Still, do bear in mind that will also be some waiting time, which would be right after you stick those burger patties into the over. All done with the tools and ingredients? Great! Let’s get right down to business.
How to prepare Cannish
Step 1. Grab a cutting board, a sharp knife, and get to chopping. Have your food processor ready, because everything you’ll chop or crush from this point forward will require a little bit of mixing.
Step 2. Leave the chopped onions and celery aside for the moment. As for the saltines, you can either use a mortar and pestle to crush them or place everything inside a zip-lock bag and use a rolling pin to beat the living daylights out of it. When you’re done, add them to the food processor, and give them a good mix (I scrambled them for 10 or 15 seconds to make sure that there are no chunks left).
Step 3. Grab yourself a large bowl and crack open two dozen eggs. Whisk the shit out of them.
Step 4. Measure five cups of milk.
Step 5. It’s now time to put everything together. Place the plastic container on your work table and add your chopped celery & onions, saltines, whisked eggs, and milk.
Step 6. Get dirty! You have two choices for the mixing part – wooden spoon or hands. I personally prefer the latter (make sure you’ve washed your hands before dipping them in the mix).
Step 7. Add some salt and pepper to the container (I used two tablespoons of rock salt and one and a half tablespoon of grounded black pepper) and continue mixing.
Step 8. Stick the container in the mix in the fridge for 30 minutes. It will be easier to handle once you get to the patty-making part.
Step 9. Get your ground beef out of the freezer and use a knife to remove the membranes. Add the meat to your plastic container and use your hands or a wooden spoon to bind the mixture. FYI, it’s easier to do this if you dip your hands in ice-cold water. Fill a small bowl with cold tap water and keep it next to your container.
Step 10. Start making patties. Take a handful of meat and stick in the metal rim. If you’re skilled patty—maker, you can ditch the ring, and form them by hand. Don’t make them too big or thick. Remember that your goal will be to place each cooked patty inside the canning jars. You shouldn’t also take into account that this type of meat is packed with fat, which will kind of end up in the oven tray.
Step 11. Stick the formed patties in the fridge for 15 or 20 minutes. To prevent them from sticking to each other, create patty layers separated by baking parchment.
Step 12. Get the patties out of the fridge and arrange them on your grill. If you use the exact amount of ingredients, you’ll end up with 28 or 29 burger patties.
Step 13. Preheat your over to 375 degrees Fahrenheit.
Step 14. Place the BBQ grill with a tray in the oven and bake for 35 minutes. Don’t forget to flip the patties after 15 minutes. Depending on your rig, this step can take anything from 2 to 6 hours. In my case, it took about three and a half hours to bake all the burger patties. When they’re done, place them in a large roasting pan. Cover it with two layers of aluminum foil. Allow the burgers to cool down.
Step 15. In the meantime, get a skillet and prepare the gravy. Here’s how to do it. Get one and a half cup of fat from the patties and add it to the skillet. Set your heat to medium-low. After the fat begins to warm up, and half a cup of all-purpose flour.
Use a spoon to stir. Don’t rush it! Gravy’s something that takes a lot of patience. If you see that the mix is about to go up in flames, lift the pan off the stove, and put it back again. You’ll know that the gravy base is done when it turns light brown.
Step 16. It’s time to prepare the mushroom soup. In a big pot, pour the contents of five mushroom soups cans. Using an empty can as a measuring cup, add five cups to the shroom soup and bring it to a boil.
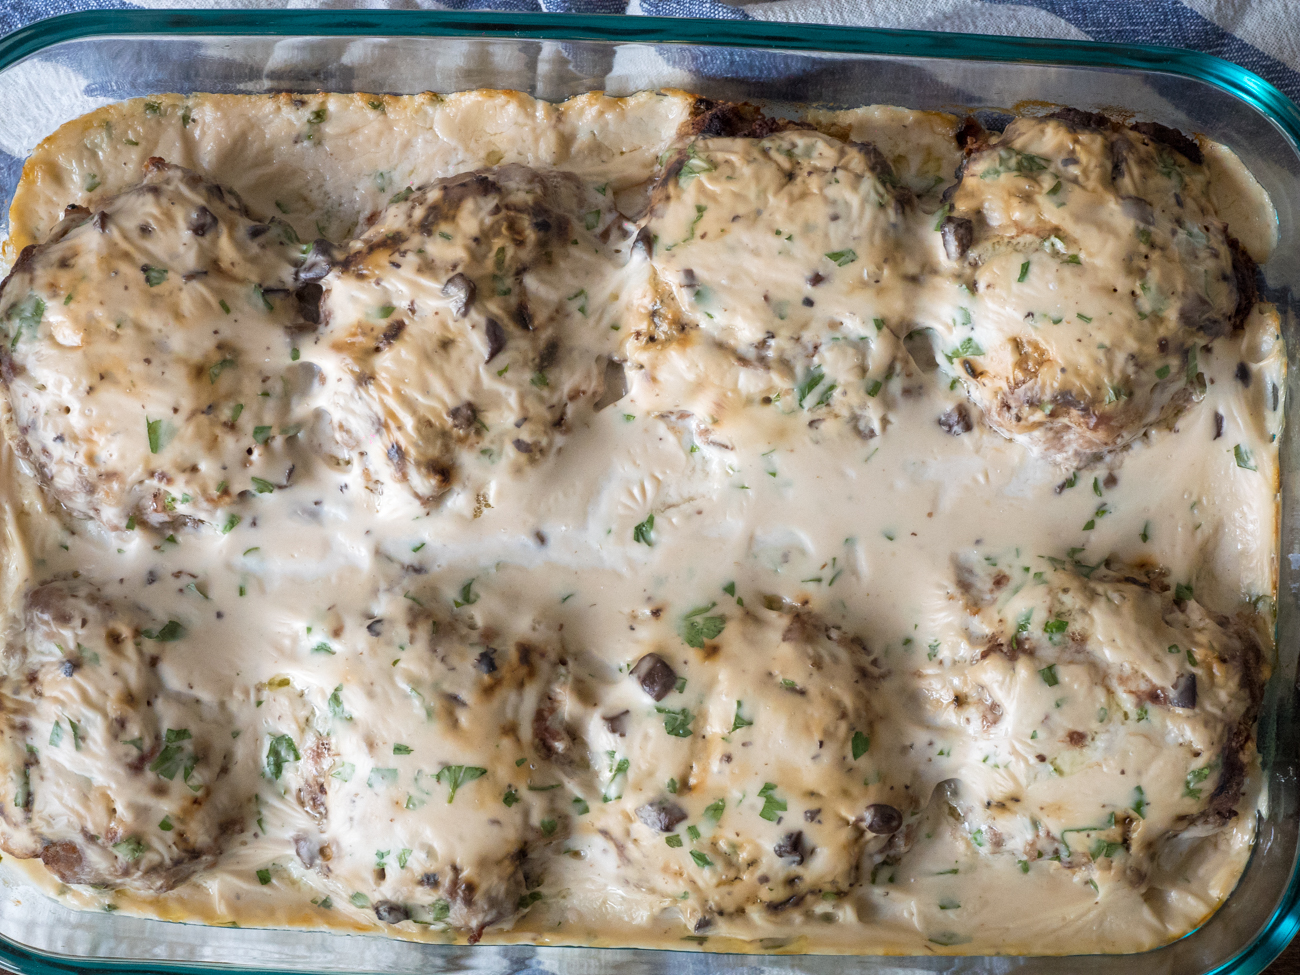
Step 17. While the shroom soup’s still hot, grab a ladle and carefully add it to the browned flour mixture. The secret to not ending up with burned gravy is to stir while pouring shroom soup with the ladle. It may take a while longer, but it’s worth it. If you feel that the mix is too thick for the spoon, use a whisk instead.
Step 18. When you’re done adding every last drop of shroom soup, give the mix a good whisk, and let it bubble for five more minutes before killing the flame.
Step 19. Take a breather. Smoke if you have them. After the gravy cools down a bit, it’s time to put everything together.
Step 20. Give those canning jars a good wash. You can either submerge them in a tub filled with water and dish detergent or boil the Hell out of them before using. Your call.
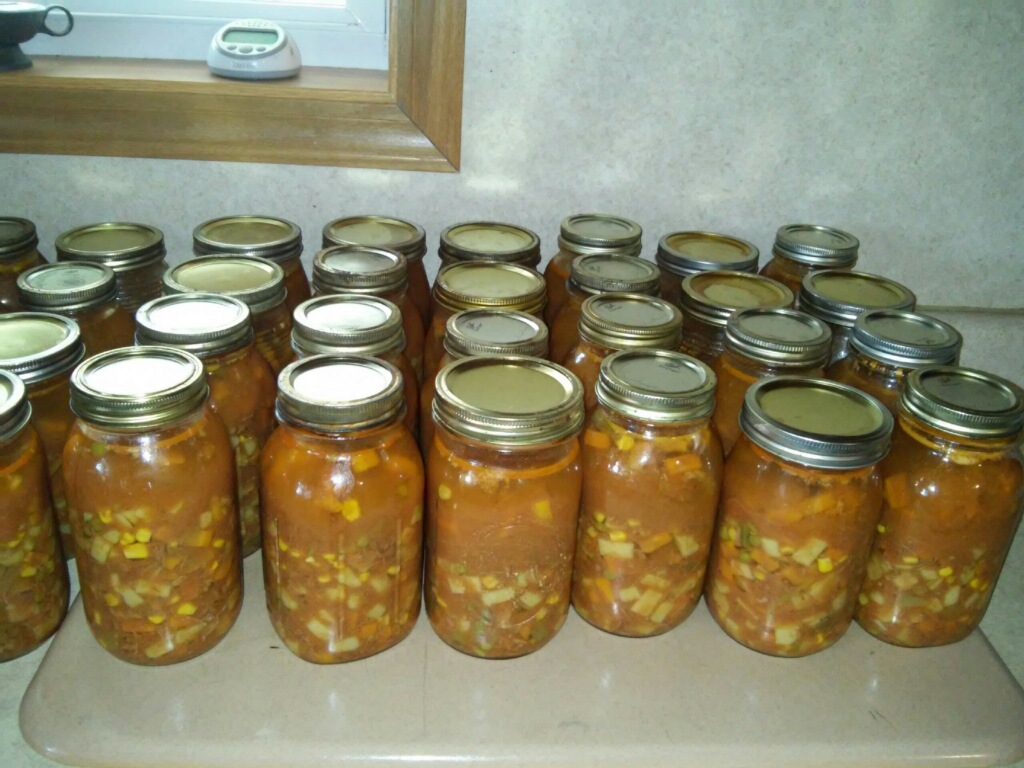
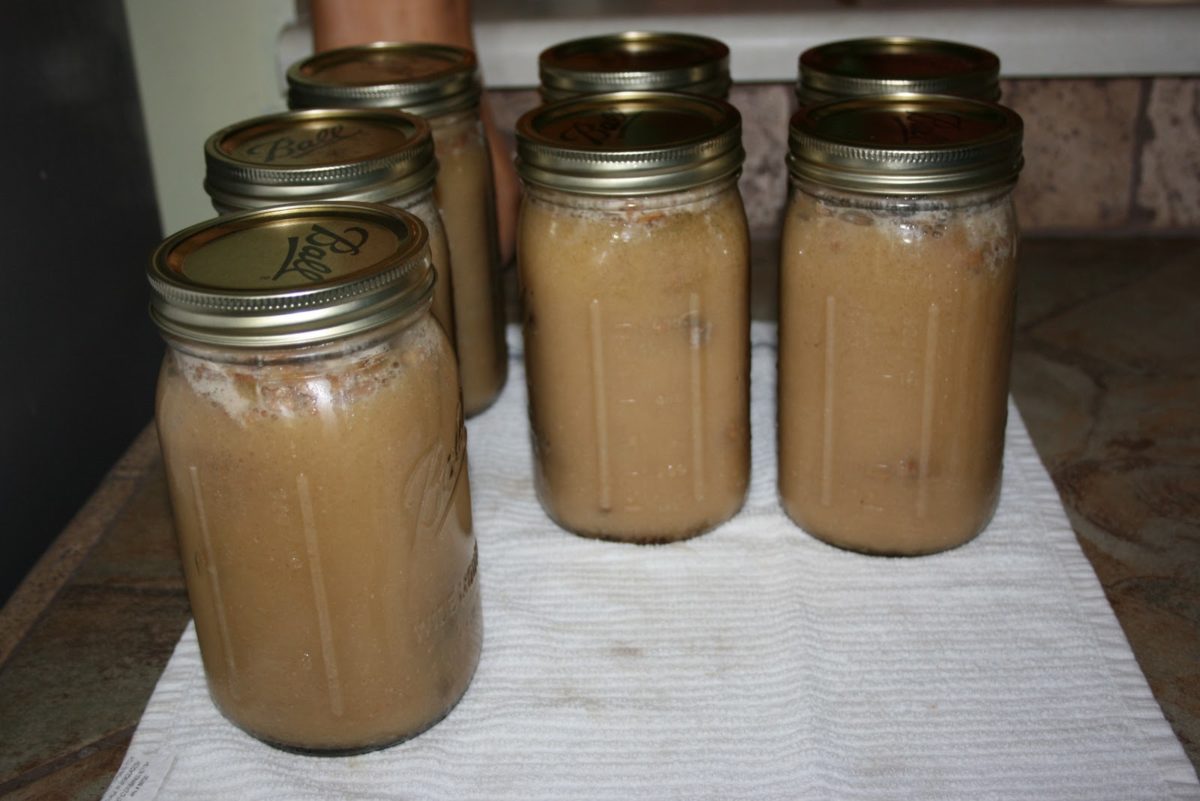
Step 21. Place five burger patties in each canning jar and cover with gravy. Put the lid on, tighten it, and allow the jars to cool down overnight before placing them in the fridge or pantry.
Congratulations! You’ve just made your first batch of canned Amish Poor Man’s burgers. Your kitchen probably looks like a scene from WW2 or something, but who cares when you have delish marinated burgers. If stored probably, you won’t have to worry about running of food, at least for a couple of months. Although the canning part allows you to store this stuff in any place outside of the fridge, I would strongly advise you to keep your jars refrigerated and to consume it in two months’ time.
Another thing about this recipe is that it will take a while to figure out how to make the gravy base. For my part, I had to discard the contents of two skillets and ended up using more than three cups of fat before I was able to make a ‘stable’ base. As I’ve mentioned, the trick is to gently stir the mix and to lift the skillet every now and then. If the weather’s nice, you can always skip the oven part and cook your patties over a charcoal barbeque.
As for the mix, if you can’t find any saltines, you can always replace them with other types of crackers. Just make sure that they’re salty. The dish can be eaten hot off the oven but, if you want to get more kicks out of it, stick in the fridge and leave it overnight. By morning, the patties would have sucked in all that delicious gravy. You can heat them up in your microwave or in a pan with boiling water.
That’s it for my Cannish recipe! What do you guys think about this SHTF dish? Hit the comments section and let me know your thoughts.
Before you go, you may also like:
This is more than just about your guns…
How to survive any medical crisis situation with ease
10 Easy Steps to Secure your privacy
Secret Military Solution For Power Independence
DIY Unlimited water source
Why a food reserve is way better than the Federal Reserve
Lost Skills of our Ancestors that still work today


