Yesterday evening I had a couple of friends over for a kick-ass movie night. Of course, you know how these things usually turned out – after the second movie, we’ve decided to take the party outside (yes, I know it’s still kind of nippy, but after a couple of cold ones, who cares?) Anyway, one of the movies we’ve watched was what you might call a prepping cult-classic: Kevin Reynolds’ Water World, starring Kevin Costner and Dennis Hopper. You can’t get more old-school than this.
Now, halfway through the movie, there was this brief scene depicting some shady and raggedy characters huddling around a fire made in this rusty fuel barrel. Not the most breath-taking scene from the movie but actually the only one that somehow got stuck in my head. So, after replaying this scene a couple of times in mind, something clicked in there – what would happen if we all had to find fuel barrels in order to keep warm?
Yes, I know it’s one hell of depression though, but anything can happen when shift hits the fan. Think you’ll still be able to use the water heater or your fancy, voice-activated smart AC? Obviously that everything goes down the brown swing when disaster hits. And you don’t need a nuke or EMP of the coming of the second Black Plague to witness first-hand what it means to get on your knees and beg for a heating source.
Anywho, you know what I’m talking about, so I won’t go into many details. So, after the movie night, I put on my mad scientist lab coat and decided to do a little home experiment. My goal was to come up with a heat source that was powerful enough to heat up a small room and, at the same time, help me prepare something very basic, like hot water.
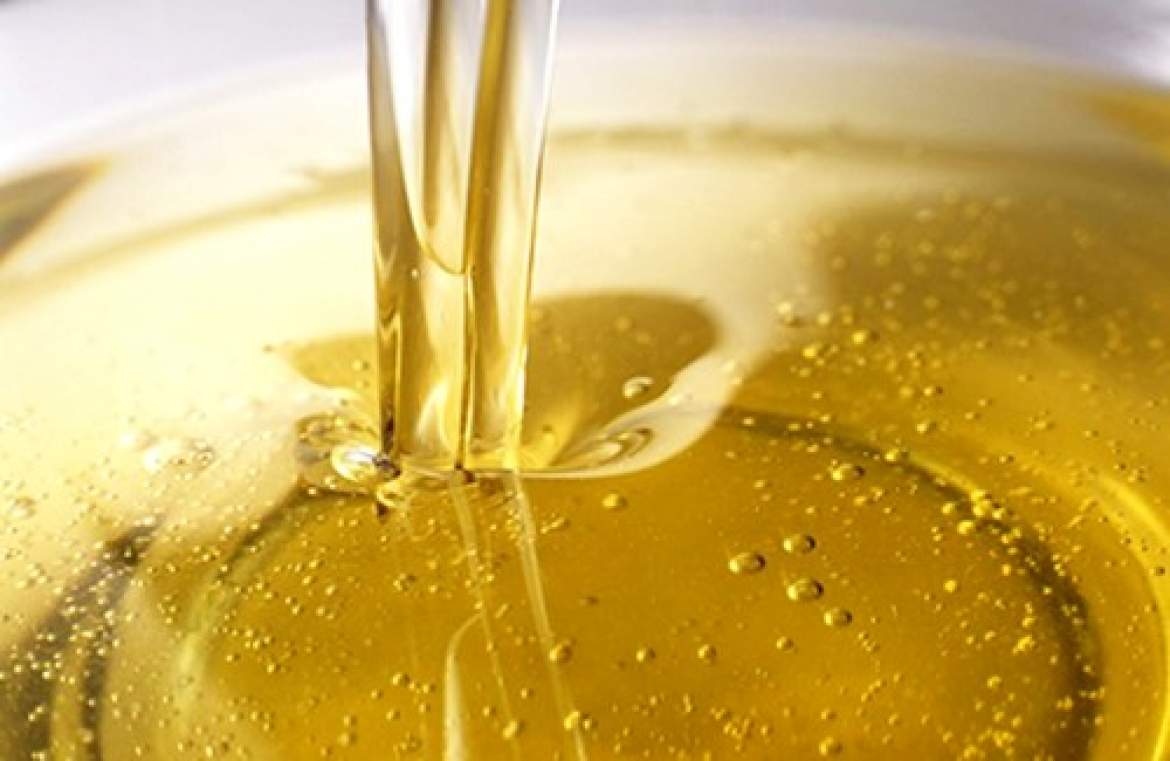
Easier said than done. The first challenge was finding some fuel, but not gasoline or petroleum or gas. Those are the first things that disappear during an SHTF situation. So, I needed something that was easy enough to obtain, cheap, and, if possible, lying around the house. Although it took me a couple of hours to figure it out, even though the answer was staring me in the face, I ended up using cooking oil as food. Neat, but “how the Hell am I going to burn this?”, I asked myself.
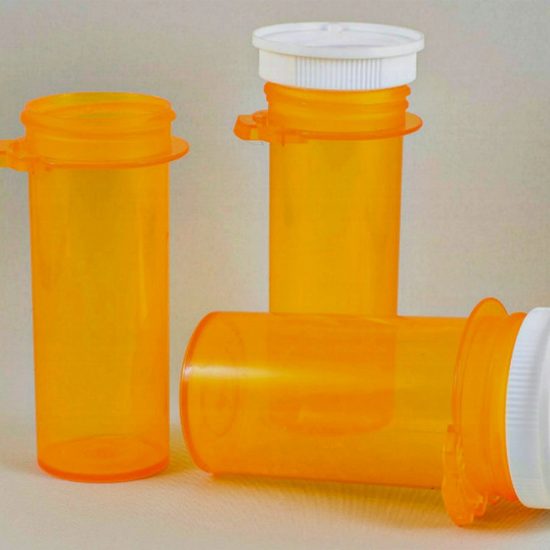
So, after some deliberation, I hopped into my van and went into town for a couple of supplies. For this project, I bought two 4-ounce ball jars – you can find them in every thrift store – two wicks, and four bricks. Yes, I know it’s a weird shopping list, but then again, most of the stuff we preppers do can pass as peculiar to most people.
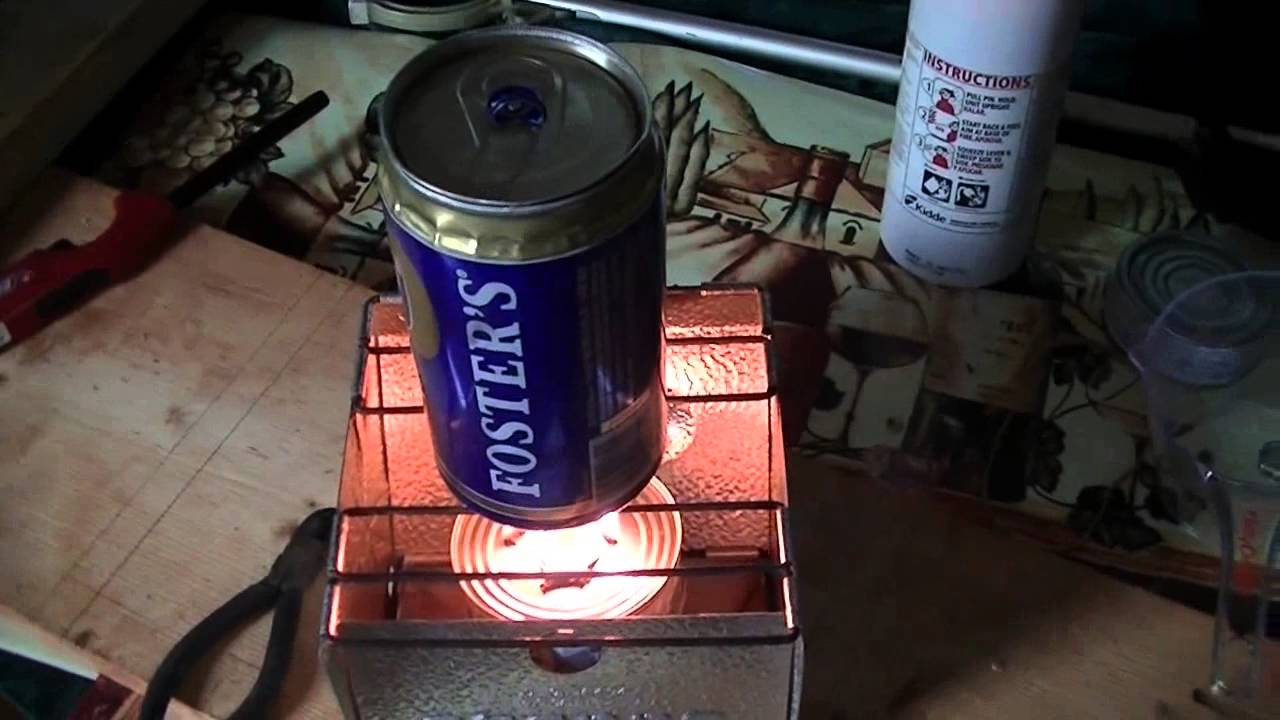
Now, for the first step of my project, I’ve tried to make emergency candles from cooking oil. It’s super easy, and they really put out quite a flame if you’re careful enough to screw the lid nice and tight. Here’s what you will need to do in order to complete the first phase of your alternative heating source project.
Making Quick Cooking Oil Candles
First thing’s first – choosing your poison. For my part, I stuck with sunflower oil since I have a near-endless supply in my pantry and I could always go and get more if I want. However, you’re free to use any kind of oil you like; heard that palm oil is a great alternative to sunflower and not just in matters of crafting heating devices. It’s ludicrously cheap and has, more or less, the same taste like the one made from sunflower seed. You can also reuse the oil from your deep fry machine or cast-iron pans.
So, after getting all the stuff together, here’s what you will need to do in order to make those candles\burners.
Step 1. Take an awl or anything pointy and puncture the lid. You don’t need a large hole. Should be enough for your wick to pass through.
Step 2. Get one end of the wick through the hole. If you can’t find any wicks, you can also use cotton shreds or any piece of cloth. Just don’t use textile that has been treated with fire retardant textile substances (winter jackets, pieces of carpet, and upholstery, in general).
Step 3. Put the other end of the wick inside the bell jar. Make sure that you have enough of the stuff, as the fire will eat through that stuff. If you’re thinking about upscaling your project, you may be able to make a sort of lamp out of a canning jar and a longer wick.
If I were you, I would pick one of those jars that come in with a handle – just be careful not to burn your paw while holding the thing. Moreover, about the moving part – it’s not a good idea to move the thing into another room. The chances of a house fire are very real and very scary.
Step 4. It’s now time to add the fuel. Carefully pour the cooking oil inside the jar. Don’t spill any on end sticking out of the lid. Otherwise you’ll have trouble setting fire to the wick.
Step 5. Secure the lid, and that’s it. Now, for the best results, I would advise you to leave you burners be for at least 24 hours. By that time, the wicks would have drawn enough fuel to allow you to light them up fast. If you’re using regular cotton or ripped fabric instead of wicks, you should allow them to soak a little longer. Moreover, I wouldn’t advise dipping the other end in oil to make the candlelight faster because you’ll end up with more smoke and less flame.
Already done with your emergency candles? Great! If everything’s hunky-dory, then you’re ready for phase two of your heating project. For this, you’ll go to need some bricks or two concrete slabs, a thin tray (I “borrowed” a cookie tray from my wife) and a pan. Here’s what you will need to do in order to create an awesome room-heating device.
Piecing together the heater
Step 1. Place the concrete slabs or brick on the ground, preferably in the center of your room with all the doors and windows closed. You may want to grab a thermometer for your experiment in order to take a reading before and after the heating device has been switched on.
Step 2. Lay the tray on your slabs or bricks.
Step 3. Place two homemade emergency candles\burners right beneath the center of your tray.
Step 4. Light up your candles. It will take a while for them to generate heat. I know I told you to keep the doors and windows closed to see just how much heat your thingamajig can generate, but you may want to keep the front door ajar, especially until the heaters go into stasis.
The thought never crossed my mind while performing the experiment, so I ended up fumigating the entire living room. Yes, I know that it will probably take me days to get rid of that smell, but hey, at least I managed to whip up a device capable of heating up a small room in case of an emergency.
Step 5. After half an hour or so, the flames are going to stabilize. Of course, your tray will take quite a bit, but you know the saying – it’s for the good of science. So, after you get a steady flame, you may try to see if the tray resting on top of the concrete slabs can boil water.
As far as the heating part is concerted, I managed to get a 10-degree rise with just two burners. It may be possible to convert the whole thing into an efficient house heating device, but that would require more makeshift heaters and, of course, a metal surface capable of deflecting heat far better than a tin tray. I was thinking about using four burners and thing steel sheet for my next experiment.
Remember that show Jackass which used to air on MTV? They had this message at the beginning of the show: “all the stunts have been performed by professionals. Don’t try this at home.” Well, that’s exactly the sort of advice that I want to give you – don’t try this indoors.
No matter how fire-proofed your test area is, there’s always a chance of something bad happening. If this is your first time, you would be better off doing it in an area without flammable substance. If you have a fire extinguisher at home, keep it close just in case – I really wouldn’t try to put out that kind of fire with water.
Anyway, keep a close watch on the top of the try. Once it turns black, it means that you’re all set to begin the third and final phase of the experiment – bringing water to a boil. I know that for the layman this may be a bit silly, but do keep in mind that in any SHTF situation, the whole idea is to get more while spending the minimum amount of energy and available resources.
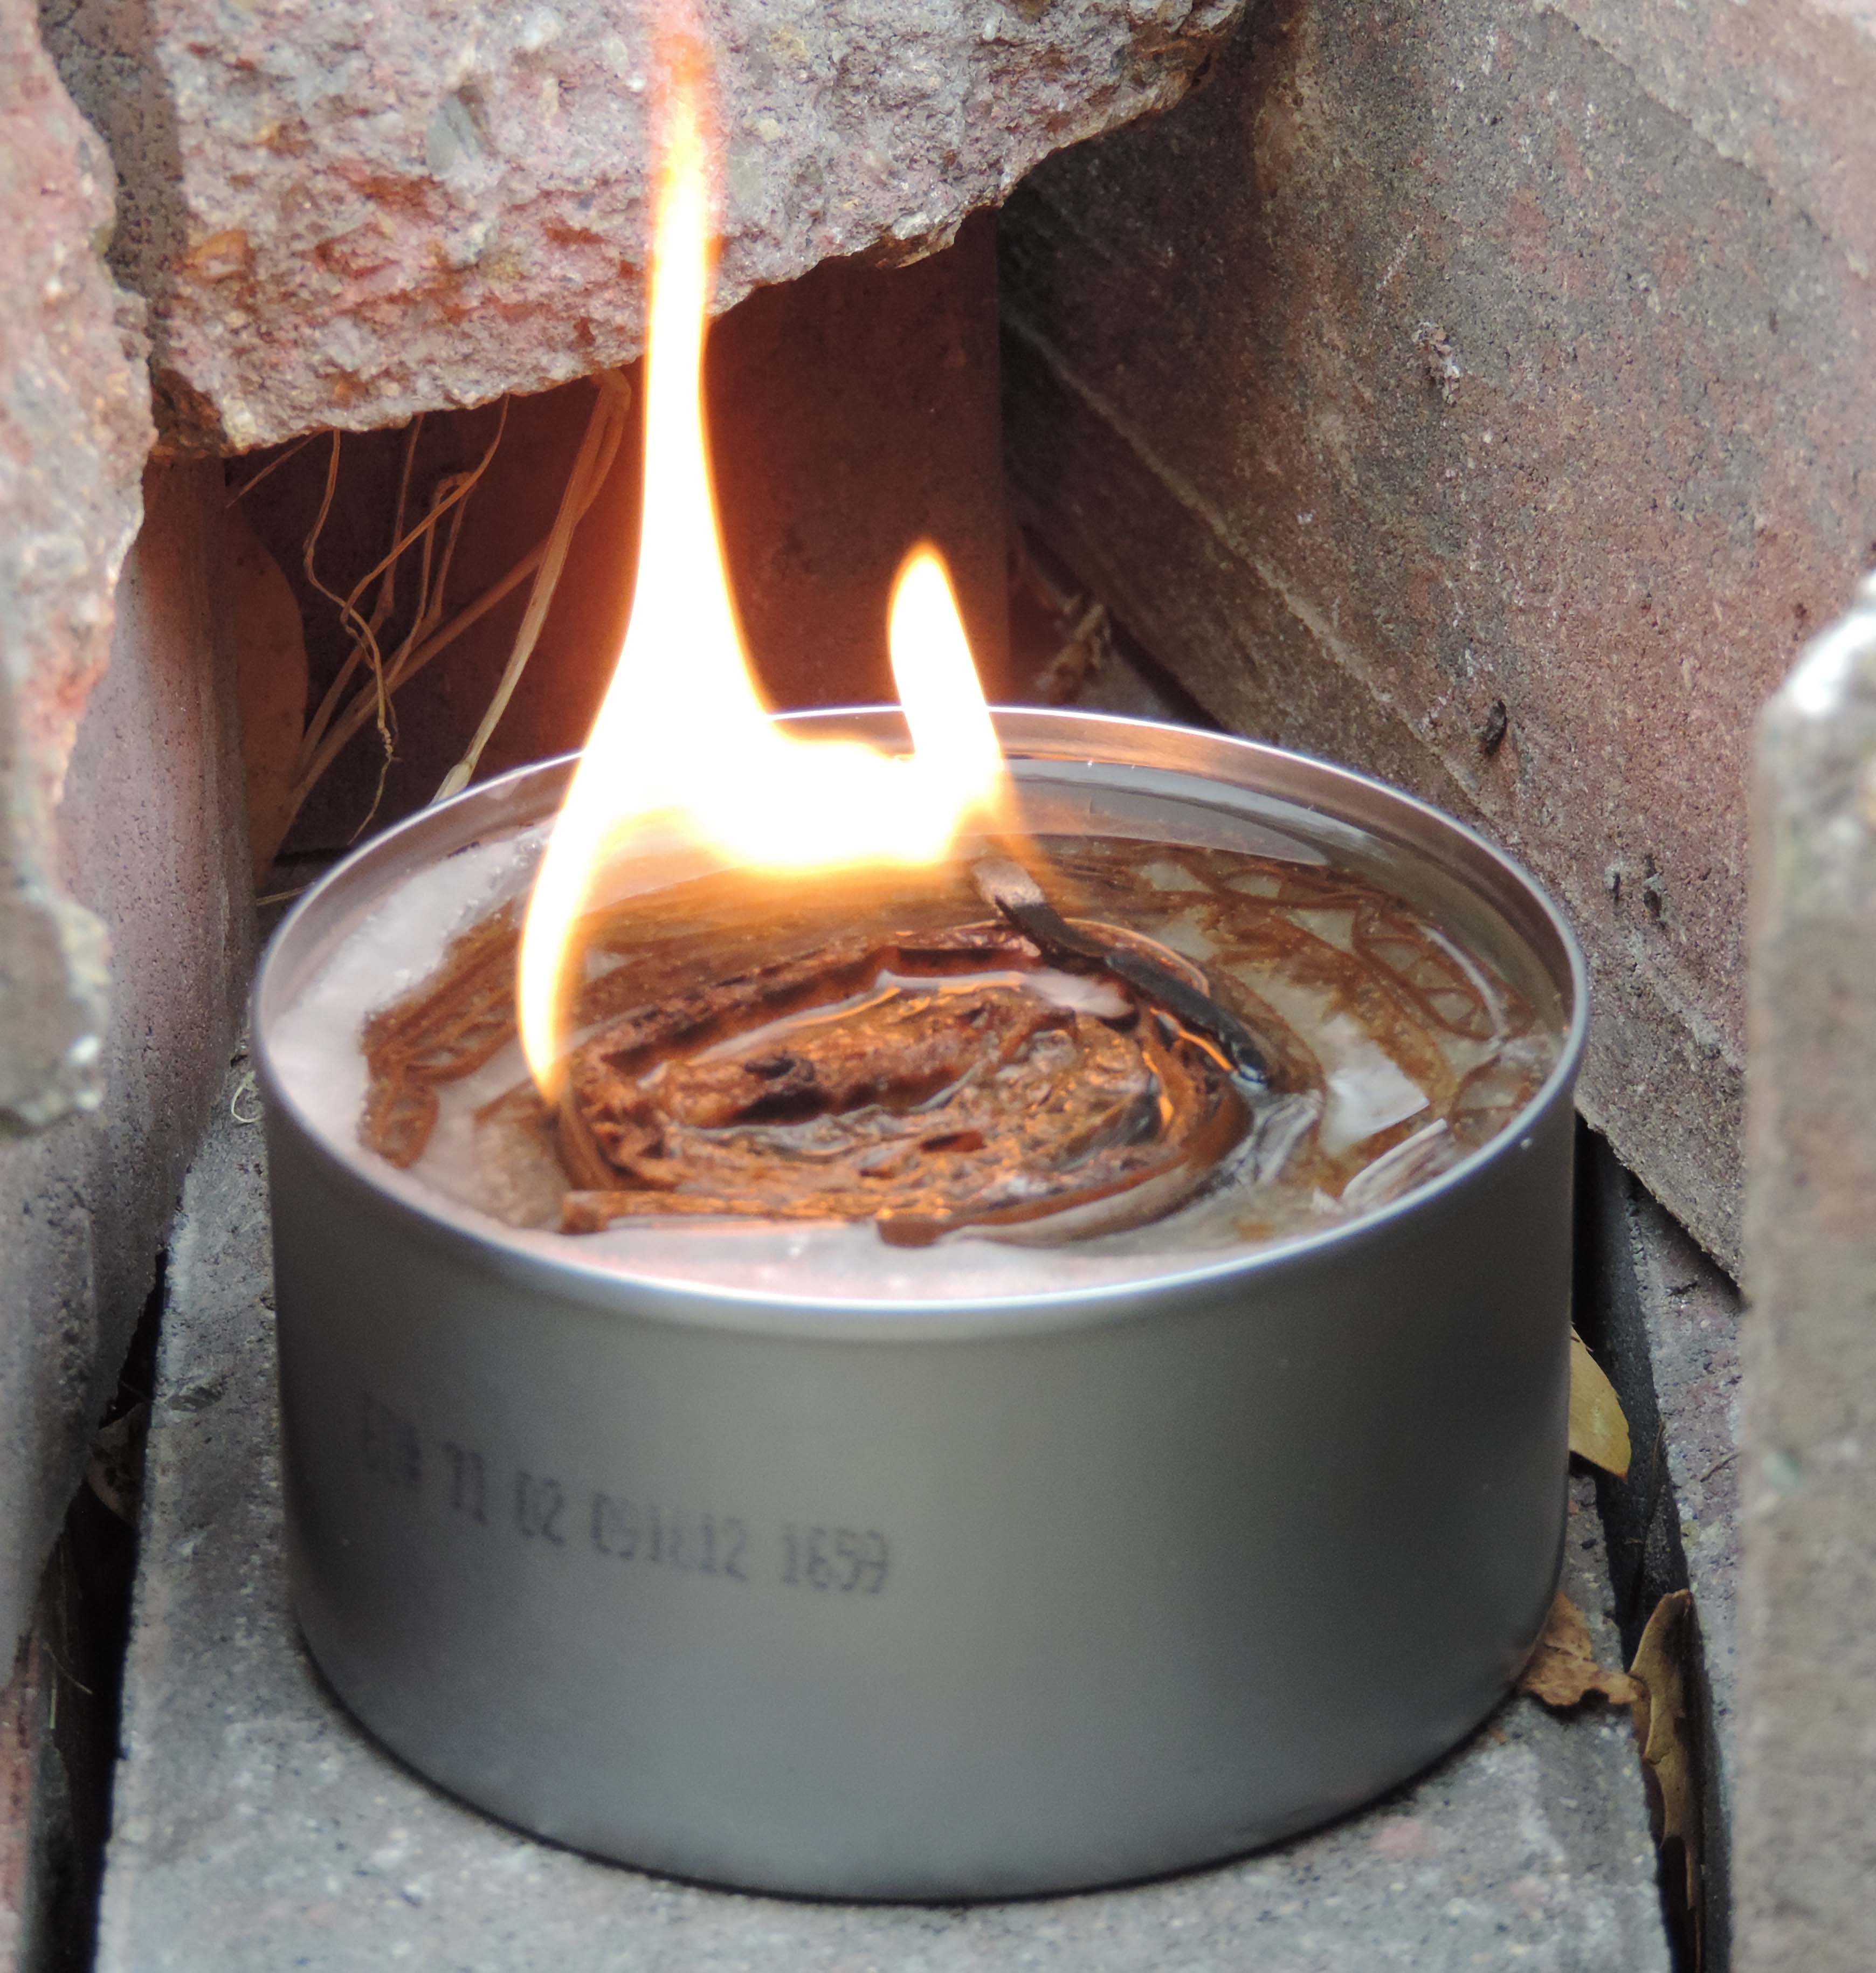
So, after the thin tray starts to black, fill a pan with tap water. Place it in the middle of the tray and keep a close watch. Now, this is the point where the results differ. From what I understood after doing a bit of research, someone who attempted the experiment said that he managed to boil a gallon of water in 15 minutes.
Was a bit suspicious about that but, hey, that’s what experimenting’s for. Turned out that I was right all along. After waiting around for about 45 minutes, nothing was happening – no bubbles, no mist, no nothing. It was as though I’d placed the pan on the floor or any other cool spot. So, after the frustration kicked in, I took the pot off the tray and placed on the stove.
I got to a boil really fast, and then I transferred the pot back to the improvised heater. Again, nothing happened. In fact, even though both burners were working, they weren’t strong enough to maintain a steady temperature.
As for the results of this little experiment, here’s what I managed to jot down in my notebook. In case you’re looking for a heater or AC alternative, this Bunsen burner wannabee is quite efficient. Even with two sunflower oil-based candles, you’ll still be able to get a 10-degrees ambient temp increase.
However, as for the part of using this device to boil water or to cook food, I wouldn’t bet my last dime on it. Of course, the design itself may be faulty, since most of the heat’s lost through the gaps created by the tray and concrete slabs, but then again, the whole purpose of this experiment was to create a quick and efficient heating device with fuel that can literally be found anywhere.
Anyway, instead of my usual wrap-up, I’m gonna end this article with a question for you: Do you think this device is able to fully substitute a water heater, AC or your run-of-the-mill oil barrel bonfire? Would love to read your answers in the comment section. Meanwhile, I’ll try my best to get rid of this awful smell before she gets home.


