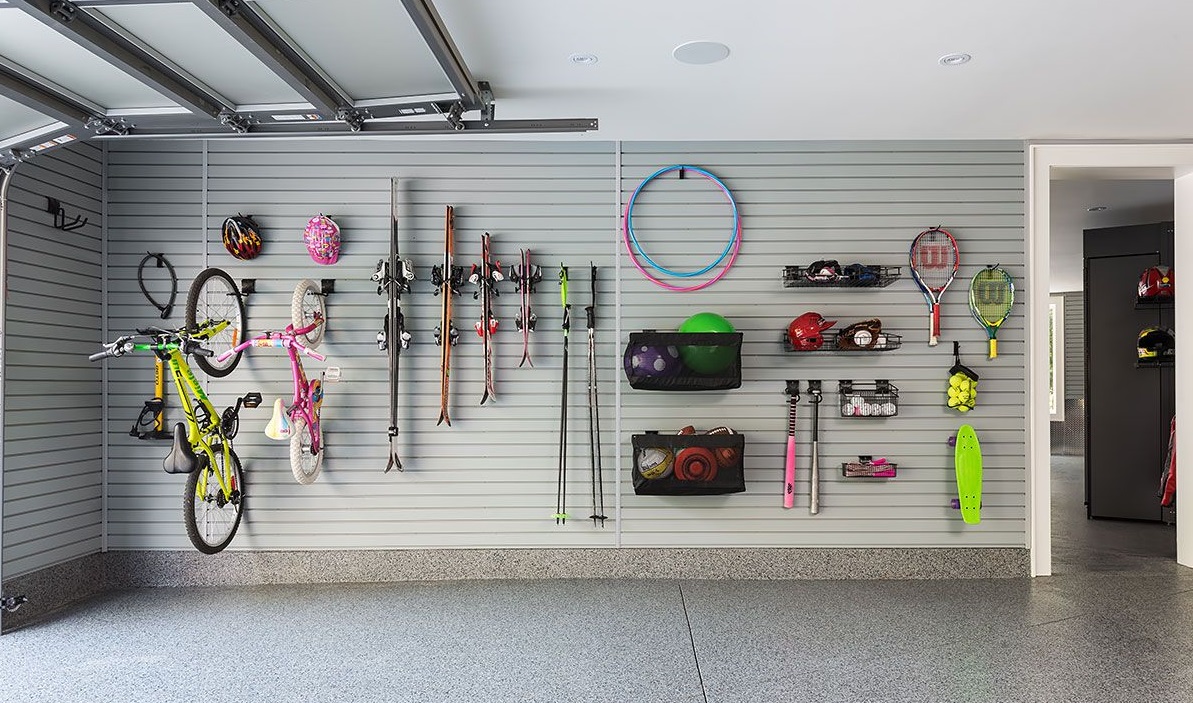
Thanks to the media, prepping gets a bad reputation. Those who prep — collecting food, water, and equipment to prepare for the inevitable — are portrayed as paranoid at best and crazy at worst. When it comes down to it, though, prepping isn’t such a bad idea — it’s better to have it and not need it, as the old saying goes. You don’t even need a barn or a shed to start prepping. If you’ve got a garage, you’ve got everything you need. How can you turn your garage into the ultimate prepper storage unit?
What Do You Need?
Before you start setting up your garage for storage, how much food, water and other supplies do you really need?
- Food — Start with at least 72 hours worth of shelf-stable food for each person in your household. Once you’ve got this established, you can start adding to your food storage
- Water — The average adult needs a gallon of water per day, half for drinking and half for washing and other sanitation needs. Again, start with 72 hours, and then plan for long-term needs, with water filtration, sanitation, and storage
- Fire building — Even if you’re not storing firewood, make sure you have everything you need to start a fire
- First aid — Include medicine, first aid supplies, antibiotics — where available — and iodine tablets. The latter only becomes necessary in the event of a nuclear strike
- Sanitation — Toilet paper, bleach, peroxide, and items for sanitation and waste disposal are necessary, especially in the event of infrastructure collapse
- Other supplies — In the event of a pandemic, for example, you will need masks, respirators, and other personal protection equipment
- Equipment — Gather generators and fuel, air compressors for powering tools, and other equipment that you might need to survive until the crisis is over and normality restored.
Now that you have a basic idea of what you need, where are you going to put it all? If you’re limited on space, storage can be tricky. Here are a few ideas to get you started.
First, Declutter
If you’re using your garage to store all the stuff you don’t have room for, your first step is decluttering. Go through your garage and separate everything into three piles: keep, sell and trash. Only keep things that are necessary, that will serve you in the future or that you can’t bear to part with. Anything you can sell, set aside for a yard sale. Anything you’re just hanging onto because you haven’t bothered to get rid of it can go in the trash.
This step has two purposes. First, it gives you more room to store your supplies. Second, you can use the money you make from your yard sale to purchase storage and supplies.
Buy and Prep Equipment
Heavy equipment can take up a lot of space, so it’s a good idea to purchase any equipment first and plan your storage around it.
Generators can help keep your equipment powered, as long as you have fuel. Look for a generator that can easily be stored when not in use but provides all your power requirements.
Air compressors can be useful as well — they can be used to power tools, refill tires and even clean, depending on the adapters you have for them. Make sure you’ve also got everything you need to maintain the compressor — tools, oil, and even repair manuals can be useful to keep your equipment running.
Use All Your Available Space
A decent supply of food, water, and other items will take up quite a bit of space, so the first thing you should do is look at your garage and see what kind of available space you actually have. Don’t just look at the garage itself — look under stairwells, in attics, and even in closets.
In the garage itself, you’ve got walls and even your ceiling that can be altered to use as storage — all while still allowing you to use your garage for its originally intended purpose, parking your car!
Areas that already have equipment in them can still be used for storage — put shelves and storage containers above your washer and dryer and under your sinks for your growing prepper supply without filling your house from floor to ceiling.
You can even store supplies, cash, and important papers in plain sight if you’re clever with how you store them.
Don’t Forget Your Bug-Out Bag
Having a supply of food and water at home is great, but if you’re not able to stay in your home, you might not be able to take all of it with you. Creating a bug-out kit can give you a few days of supplies if you have to pick up and bug out. It should contain everything you’ve collected in your prepping — food, water, medical supplies, communication equipment — in addition to cash, important papers, and anything else you can’t bear to leave behind.
Again you should have at least 72 hours of food and water for each person at your party. If carrying that much water is restrictive due to the weight, include water sterilization tablets or filter straws to protect you from any water contaminants in the water supply or in any natural water that you might find.
Give your bug-out bag its own special storage place in your garage. That way it’s on hand if you should ever need it. All you have to do is grab it, hop in your car and go.
Hopefully, you’ll never need your prepping supplies, but in the event that you do need them, it’s better to be prepared for any and all eventualities. It doesn’t matter if we’re facing a little hiccup or a full infrastructure collapse — having enough supplies could mean the difference between life and death. Even if you don’t opt for all the extra equipment, just having enough food and water and the ability to cook it can make all the difference.










Darlene / December 16, 2018
Garage prepping sounds like a good idea; however, how would temperatures be regulated? Could you provide asditional information reagerding that?
Summertime it’s hot and winters are cold although I have pretty good insulation.
Thank you
/