5 Food Items That Last Forever
When planning and storing food for emergencies or survival situations, we have long advocated incorporating foods that will last forever (or at least longer than you will). By doing so, this does double duty by boosting your emergency supplies, pantries, and your bartering power, as well as ensuring you are purchasing foods as frugally as possible.
In The Prepper’s Cookbook, 25 must-have foods were explored in this best-selling book. These 25 foods are the foundation of your prepper pantry and used to make an array of foods. 11 of those 25 foods were what is considered “forever foods.”
Today, we are going to explore five more foods to add to your forever food pantries, and if stored properly, they will last forever. Best of all, many of them will serve multiple purposes beyond human consumption and this could give you a hand up should the SHTF!
5 (More) Forever Foods for Your Prepper Pantry
1. Distilled White Vinegar
Distilled white vinegar is actually not made by distillation at all, but made by the fermentation of the natural sugars found in either grains or fruit. Those sugars are converted to alcohol and the alcohol is then fermented a second time and it turns into vinegar by the production of acetic acid after the fermentation of ethanol, sugars, or acetic acid bacteria. Vinegar typically contains anywhere between 5 and 20% acetic acid by volume and is currently mainly used as a cooking ingredient, or in pickling. The mainstays of the category include white distilled, cider, wine, and malt have now been joined by balsamic, rice, rice wine, raspberry, pineapple, Chardonnay, flavored and seasoned vinegar and more.

Vinegar will slowly lose its concentration of acidity over time. The vinegar will absorb water from the air diluting its concentration of acetic acid. And over time, the acetic acid will break down or decompose leaving behind a less acidic product. Distilled white vinegar is perfect for marinades, sauces, and dressings, but because it will decompose and dilute itself, try to use fresh distilled white vinegar when pickling or making dressings, but those older gallon jugs of vinegar will work great as a cleaning solution. Distilled white vinegar is great to use to clean your house or add it to your laundry as a fabric softener! It is actually just as good at killing germs as bleach, according to a Colorado State University publication. Once 5% distilled white vinegar is heated to at least 150 degrees Fahrenheit it is as effective as bleach in treating Listeria Monocytogenes, E. Coli, and Salmonella.
You can also use distilled white vinegar as a fruit and vegetable wash! Try using 2 tablespoons of the vinegar to 1 pint of water. It is also great at removing lime stains from bathroom faucets. Every few weeks or so, I use distilled white vinegar to run through my essential oils diffuser. It acts as a cleaner and keeps my diffuser running great.
Its shelf life is almost indefinite. Its acidic nature makes it self-preserving. To keep distilled white vinegar virtually forever, store in a cool dry area and keep a lid on tight.
2. Cornstarch
Cornstarch is powder made from the starch in corn kernels and generally used as a thickener for sauces and gravies in the kitchen. But it can be used for so much more, including cleaning and medicinal uses.

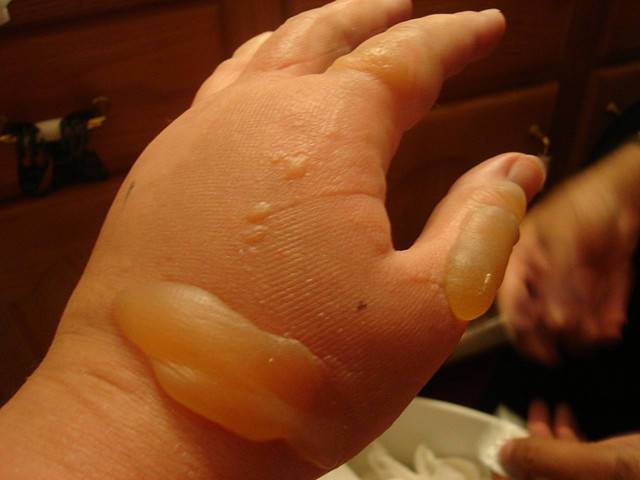
Cornstarch can be used to help cool off a sunburn. A simple paste of cornstarch and water spread over a sunburn soothes inflamed skin. This paste on insect bites and stings. Use aloe vera gel instead of water to ramp up the soothing properties as well! Cornstarch will also help prevent chaffing. If you have sensitive skin and a tendency to chafe, simply dust a little cornstarch on your problem areas before dressing.
If you have a creaky spot in your hardwood flooring, try adding a sprinkle of cornstarch and then sweep. The superfine starch works itself into nooks and crannies, effectively stopping the noise. It is also great at cleaning up greasy carpet stains! If you have a greasy mess on your carpet, simply pour cornstarch over it and let it sit for 20 minutes. The cornstarch absorbs the grease and freshens the carpet. Just vacuum the powder away! Cornstarch is also an amazing window cleaner. Since its a super fine to the touch but naturally abrasive at a microscopic level, adding a tablespoon of cornstarch to your favorite window cleaner will make cleaning easier and leave a streak-free shine.
While cornstarch can go bad, that can only happen in very specific circumstances, so if you are willing to make sure it is stored properly, it will be perfectly fine for years. If the powder gets wet, it will go bad. It’s important to store cornstarch in a cool and dry place. If cornstarch cannot absorb water, it will stay good indefinitely.
3. Distilled Liquor

Distilled liquor is also not only useful by can be stored forever. It also has the added benefit of being a bartering tool, which comes in handy in the event of a societal collapse. The base liquors, such as brandy, gin, rum, tequila, vodka, and whiskey, are typically the most stable distilled spirits because they do not contain any sugars. The more sugar a liquor has, the faster it will deteriorate. Bottles of base liquors can be stored for a very long time opened, although they may lose some flavor, they will keep indefinitely if they remain unopened.
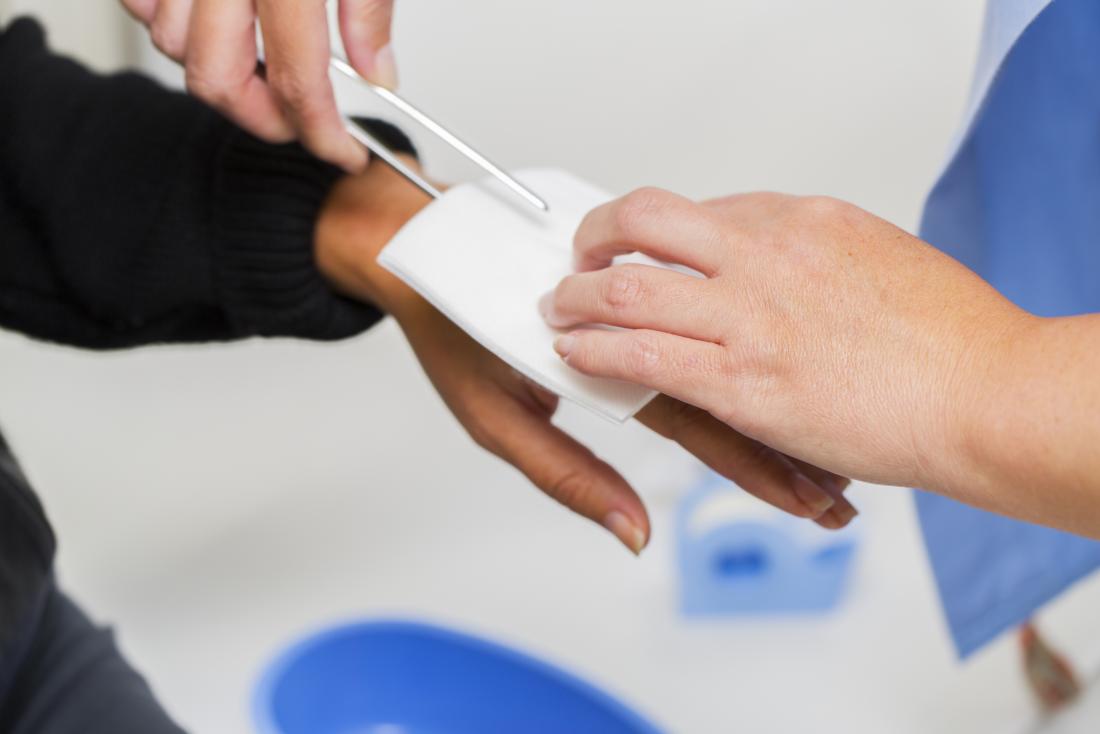
When it comes to prepping, it is always important to keep in mind your trading and bartering power. Distilled liquors can definitely give you an edge when it comes to bartering. Other than perhaps ammunition, there may not be a better item to store to ensure you’ve got something others will want than some extra liquor. Whiskey is a great option to store for bartering while vodka can be used as in first aid.
Liquor can be used not only as a way of keeping wounds free from infection but for keeping nausea at bay and or for making dental work more bearable for the patient. Any liquor above 60% can be used as surgical alcohol and anything above 40% can be used to disinfect wounds for first aid purposes, not to mention medicinal tinctures.
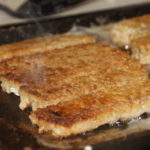
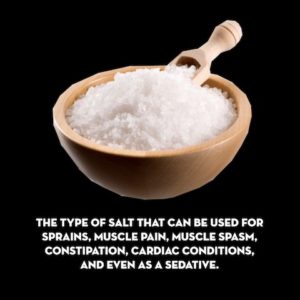
4. Bouillon
Bouillon cubes generally contain enough salt to preserve them from spoilage, but the flavor (which, after all, is why you’re using them) may weaken, dull, and change over the years. But the bottom line is that they will last forever if they remain stored in a cool dry place! Bouillon cubes are used to add flavor to foods and can be invaluable in your prepping supply. Since they contain a high salt content, they will basically preserve themselves.
5. Maple Syrup
Maple syrup will also last forever if the bottle remains unopened and its kept in the cold. If you open the maple syrup, it can get moldy and its incredibly unpleasant to eat at that point. It will only last about a year after you crack open that bottle, so if you want to save it, put it in your freezer. It will retain its flavor best and keep indefinitely when it’s stored in the freezer and don’t worry, it won’t freeze solid.
Other self-sufficiency and preparedness solutions recommended for you:
Healthy Soil + Healthy Plants = Healthy You
The vital self-sufficiency lessons our great grand-fathers left us
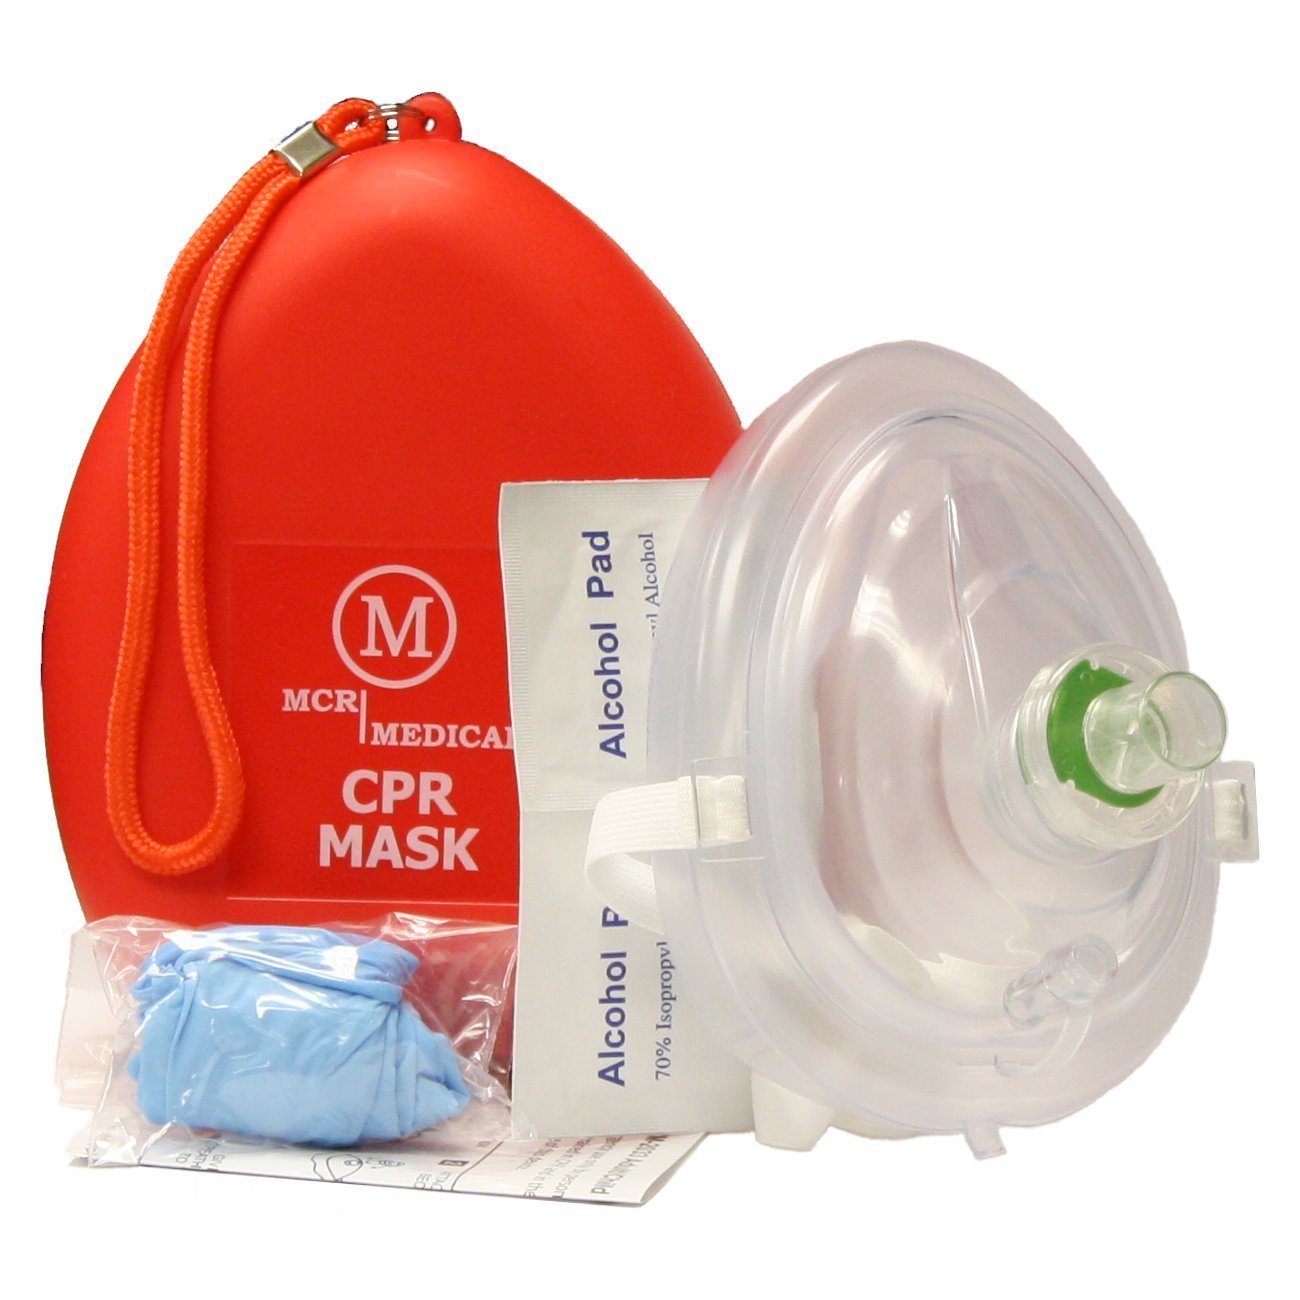
Knowledge to survive any medical crisis situation
Liberal’s hidden agenda: more than just your guns
Build yourself the only unlimited water source you’ll ever need
4 Important Forgotten Skills used by our Ancestors that can help you in any crisis
When planning and storing food for emergencies or survival situations, we have long advocated incorporating foods that will last forever (or at least longer than you will). By doing so,